
Step-by-step DIY
How to Change Your Cabin Air Filter
On many cars: empty the glovebox, release its side stops so it swings down, unclip the filter cover, slide out the old filter and fit the new one with the airflow arrow pointing the right way.
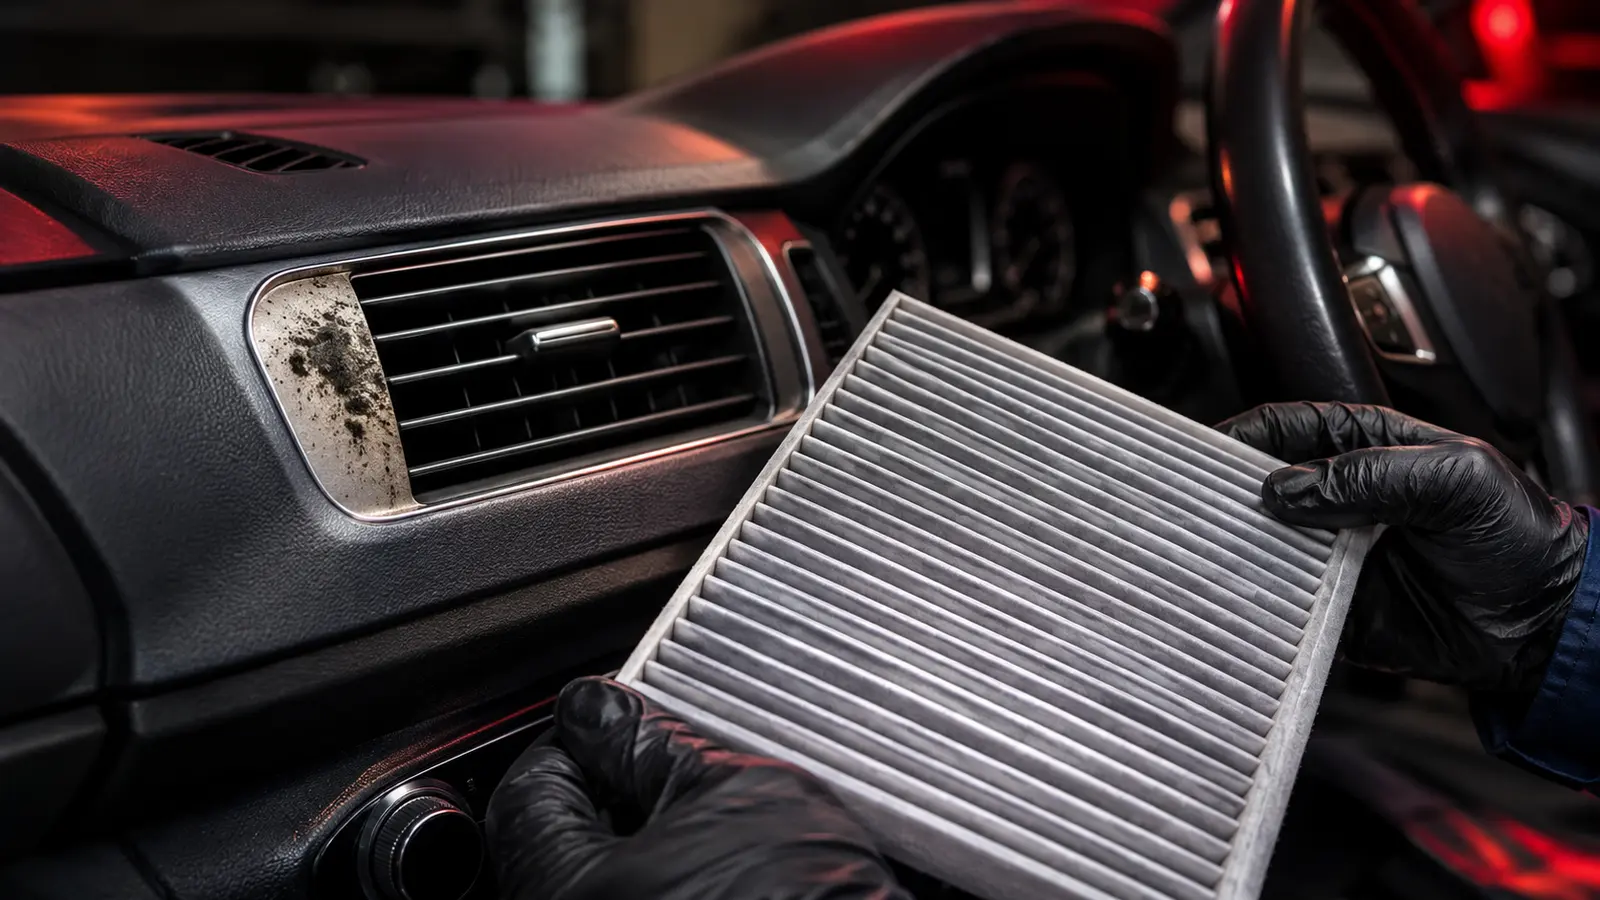
Step by step
- 1
Find the housing
Usually behind the glovebox or under the scuttle panel. Check the handbook.
- 2
Lower the glovebox
Empty it and release the stops.
- 3
Open the cover
Unclip the filter door.
- 4
Remove the old filter
Note the airflow arrow direction.
- 5
Fit the new filter
Match the arrow direction.
- 6
Reassemble and test
Run the fan to check airflow.
Common mistakes to avoid
- Arrow pointing the wrong way
- Debris dropped into the blower
- Forgetting the glovebox damper
Not comfortable doing it yourself?
A local garage can do this quickly. Compare nearby options.
Frequently asked questions
How often?
About yearly for most drivers.
Is carbon better?
Carbon filters also reduce odours.
Will it fix a musty smell?
It helps; mould on the evaporator may need cleaning too.
Related guides
General information, not a diagnosis. If a warning light is red, the car drives abnormally or you're unsure, stop safely and have a qualified technician inspect the vehicle.