
Step-by-step DIY
How to Check CV Joint Boots
Turn the steering to full lock, look behind each front wheel with a torch, and inspect the ribbed rubber CV boots on the driveshafts. Splits, cracks or grease sprayed around the inside of the wheel mean the boot needs replacing before the joint wears.
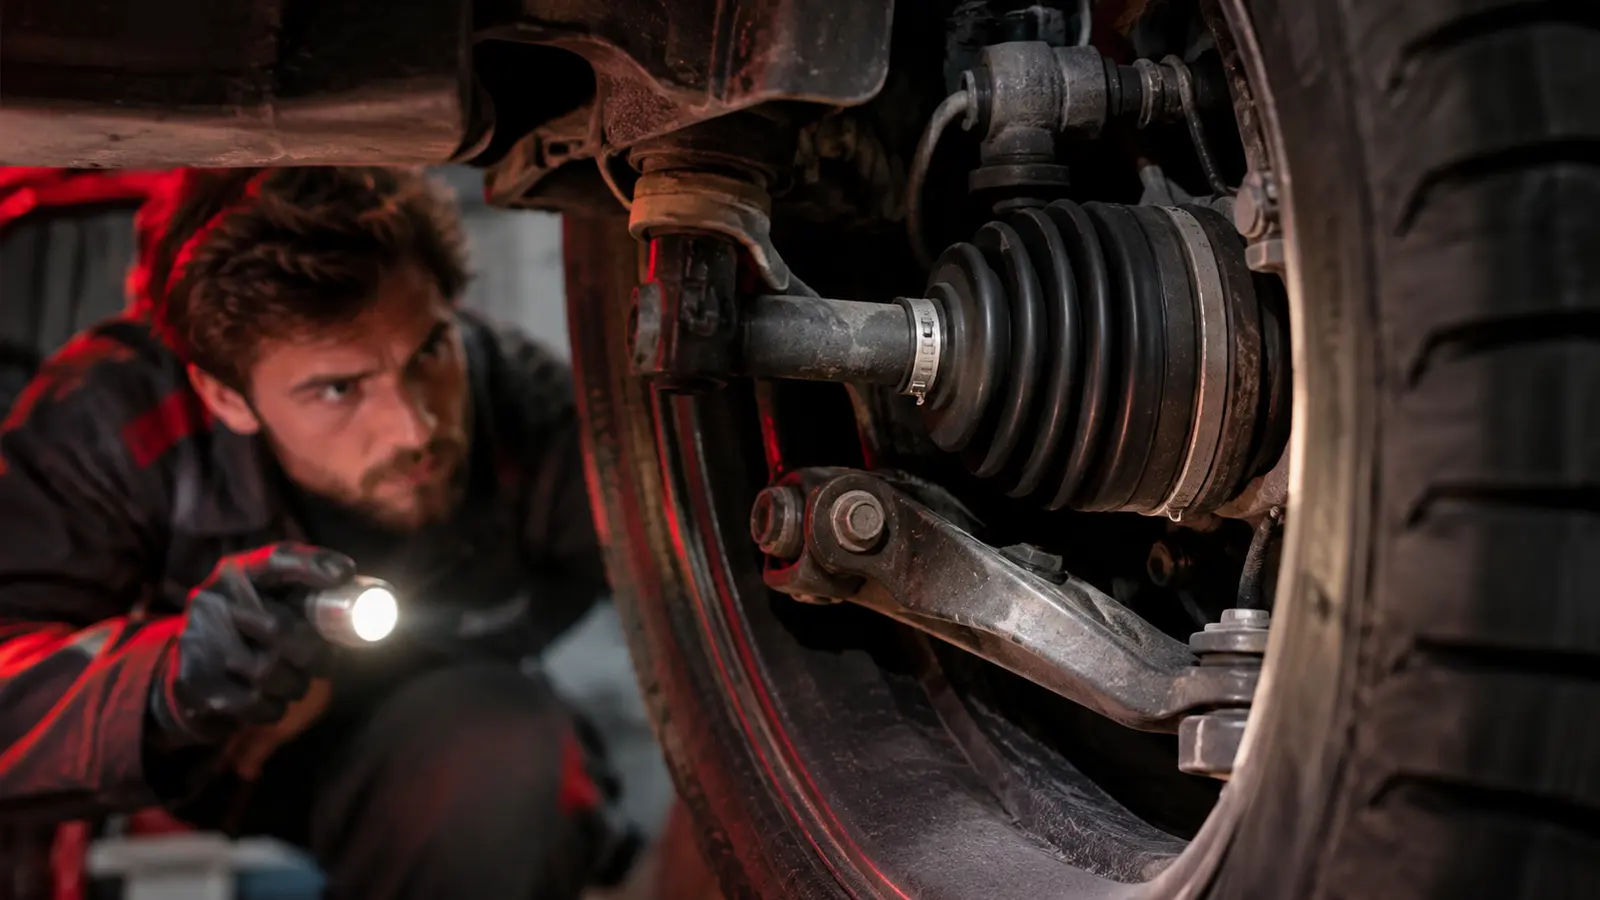
Step by step
- 1
Park and turn the wheel
Engine off, handbrake on, steering on full lock to one side.
- 2
Find the outer boot
The ribbed rubber cover behind the wheel hub.
- 3
Look for damage
Splits, cracks between ribs, loose clips.
- 4
Check for grease
Dark grease flung on the suspension or wheel is a giveaway.
- 5
Repeat on the other side
Turn the wheel the other way and check.
- 6
Check inner boots if visible
Near the gearbox, from underneath.
Common mistakes to avoid
- Only checking one side
- Ignoring a small split
- Missing the inner boots
Not comfortable doing it yourself?
A local garage can do this quickly. Compare nearby options.
Frequently asked questions
What happens if a boot splits?
Dirt gets in and grease gets out, wearing the joint quickly.
Can I just replace the boot?
Yes, if the joint isn't already clicking.
Related guides
General information, not a diagnosis. If a warning light is red, the car drives abnormally or you're unsure, stop safely and have a qualified technician inspect the vehicle.