
Step-by-step DIY
How to Check Your Brake Pads
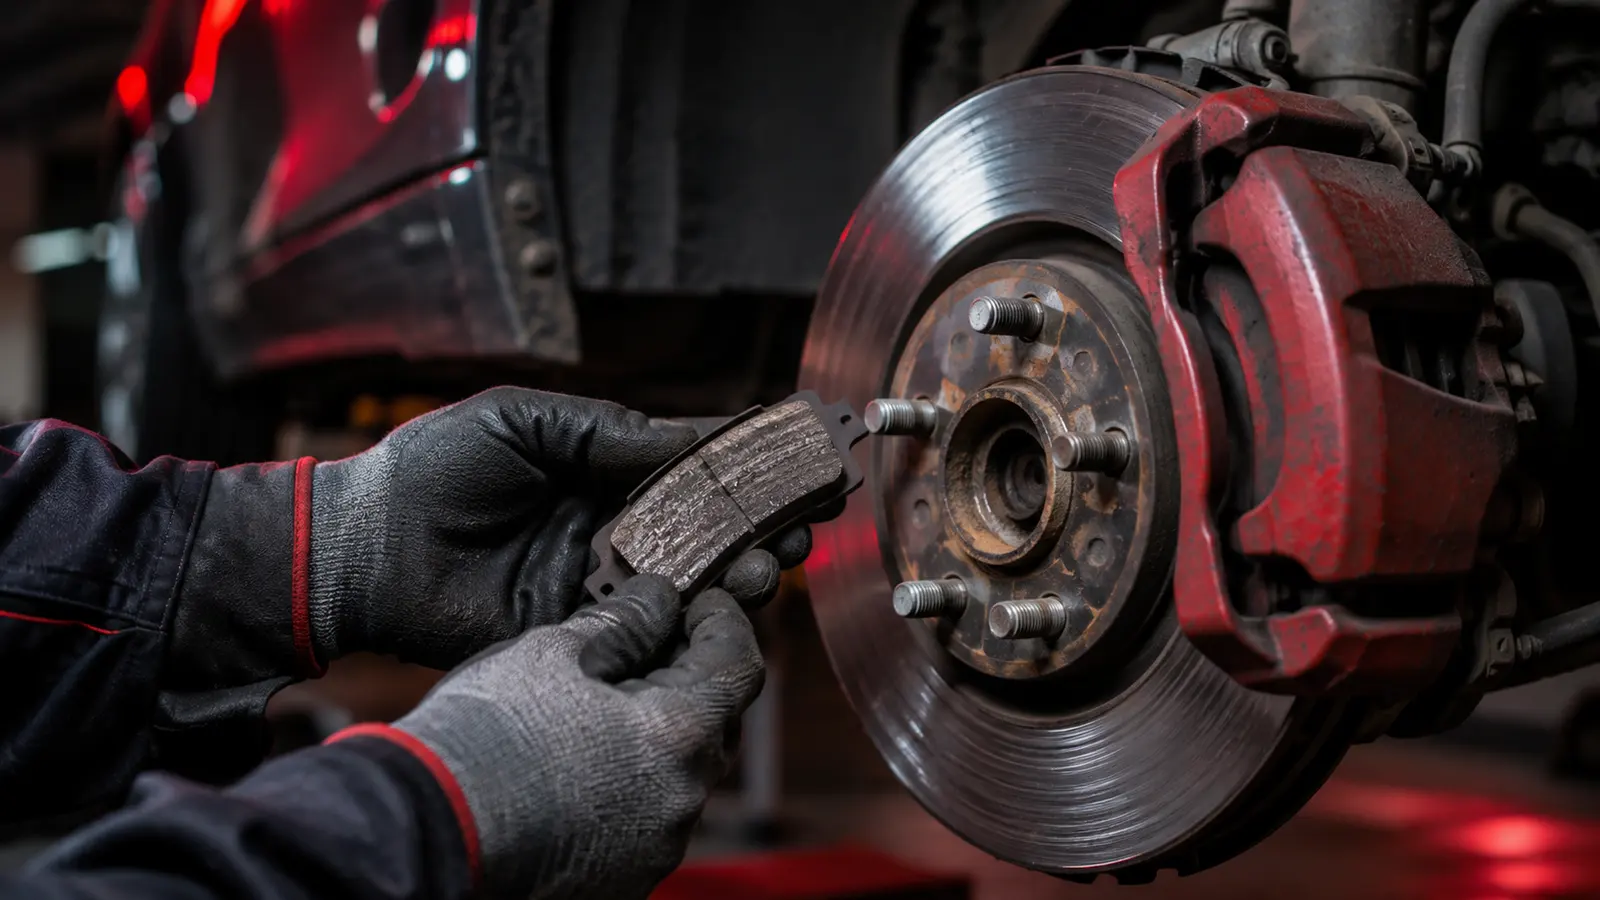
Look through the wheel spokes at the brake caliper and find the pad pressed against the disc. If the friction material looks about 3 mm or thinner, it's time to replace. Squealing wear indicators and a pad warning light also tell you.
Step by step
- 1
Park safely
Engine off, handbrake on, wheels straight or turned for a better view.
- 2
Look through the spokes
Find the caliper and the outer pad.
- 3
Estimate thickness
Compare the friction material with its metal backing plate.
- 4
Check the disc
Deep grooves or a raised outer lip suggest wear.
- 5
Listen and watch
Squealing, grinding or a pad warning light mean act now.
Common mistakes to avoid
- Checking only the outer pad (inner pads often wear faster)
- Ignoring grinding
- Replacing one side only
Not comfortable doing it yourself?
A local garage can do this quickly. Compare nearby options.
Frequently asked questions
How thick are new pads?
Often around 10–12 mm of friction material.
Do front pads wear faster?
Usually.
Can I see the inner pad?
Sometimes; a garage checks both properly.
Related guides
General information, not a diagnosis. If a warning light is red, the car drives abnormally or you're unsure, stop safely and have a qualified technician inspect the vehicle.