
Step-by-step DIY
How to Use an OBD2 Scanner
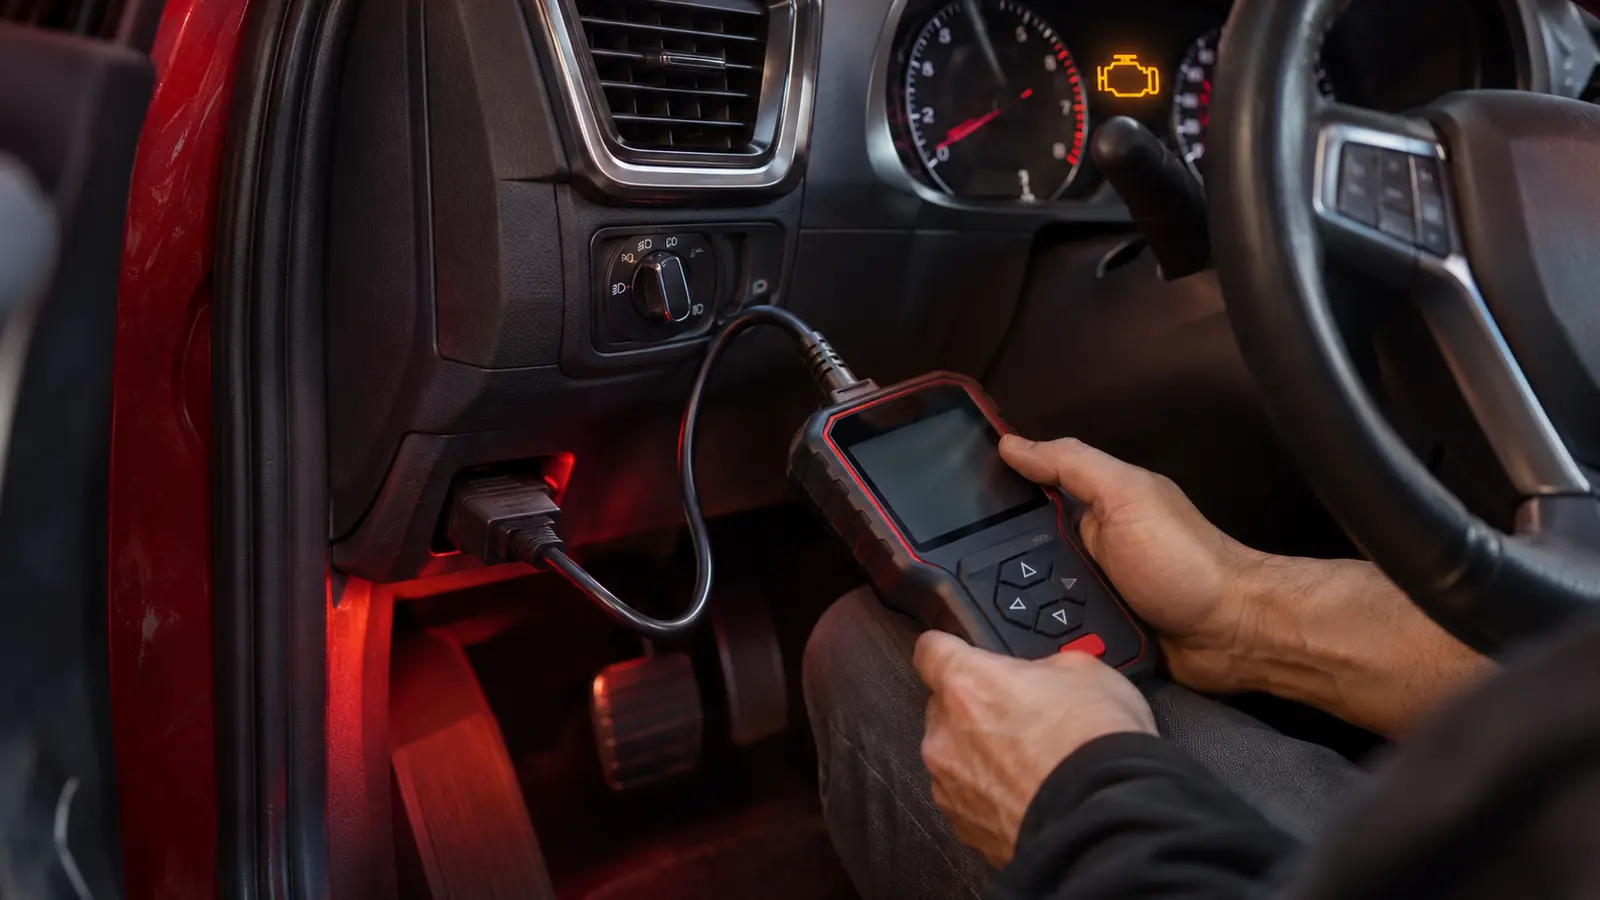
Find the OBD2 port under the dashboard near the steering column, plug in the scanner, turn the ignition on (engine off or running as the tool says), read the stored codes and note freeze-frame data before clearing anything.
Step by step
- 1
Find the port
A 16-pin socket under the dash on the driver's side.
- 2
Plug in
With the ignition off, plug the scanner in firmly.
- 3
Ignition on
Turn to on (or start the engine if the tool requires it).
- 4
Read codes
Choose read codes. Note stored and pending codes.
- 5
Check freeze frame
This shows speed, temperature and load when the fault was recorded.
- 6
Look them up before clearing
Use our OBD2 code lookup. Clearing doesn't fix the cause.
Common mistakes to avoid
- Clearing codes before writing them down
- Assuming one code means one faulty part
- Testing for emissions right after clearing
Not comfortable doing it yourself?
A local garage can do this quickly. Compare nearby options.
Frequently asked questions
Will a cheap scanner work?
For reading engine codes, usually yes.
Can it read ABS or airbag codes?
Only more capable scan tools.
Will the light come back after clearing?
If the fault is still present, yes.
Related guides
General information, not a diagnosis. If a warning light is red, the car drives abnormally or you're unsure, stop safely and have a qualified technician inspect the vehicle.